
Wero
Learn more about Wero and its workflow
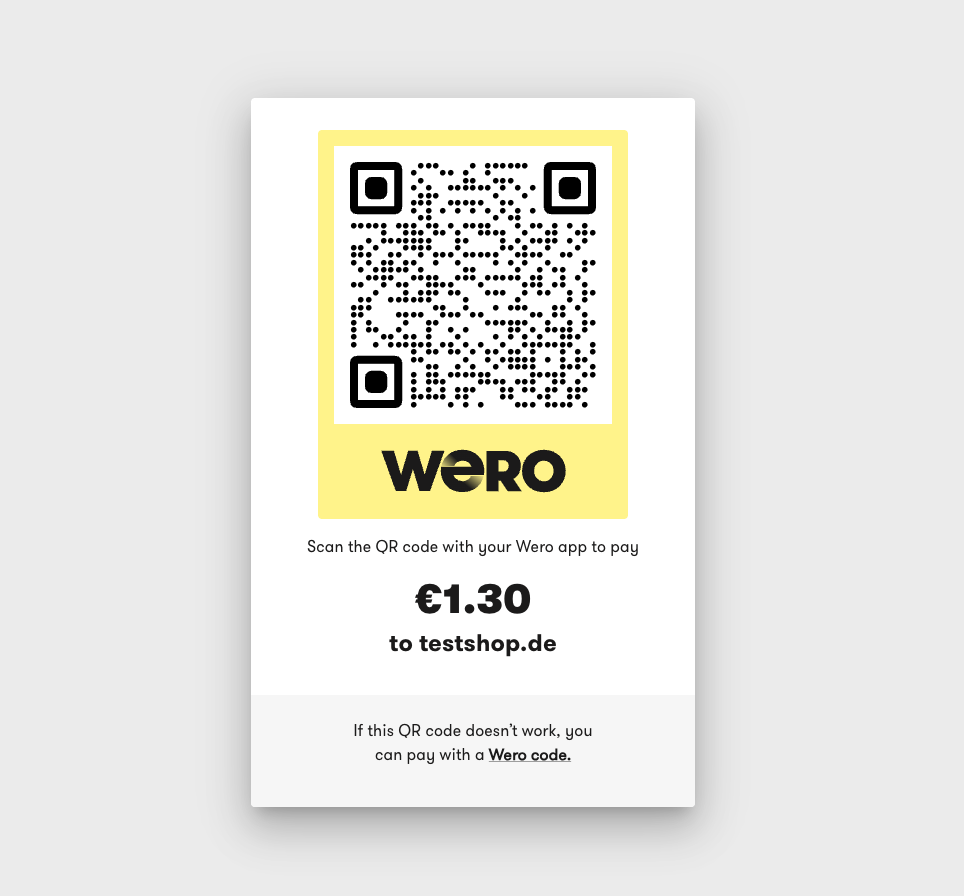
Wero is the unified European payment solution that enables convenient and secure instant payments across Europe using just your smartphone. Whether you’re making peer-to-peer transfers with a phone number, shopping online, or making in-store payments with QR codes, Wero provides a seamless payment experience. Launched by the European Payments Initiative (EPI) in 2024 and rapidly expanding across European markets, Wero has already reached over 40 million users and is designed to replace fragmented national payment systems like Paylib and Payconiq with a single, interoperable solution for the entire European market.
| Payment type | Available in | Supported currencies | Features | Integrations | API endpoint | API prefix |
|---|---|---|---|---|---|---|
| Wallet | DE | EUR |  Authorize
 Charge
Reversal Refund Partial Refund Chargeback
Recurring
Payout
Pay later
Unzer Secured B2C customer
B2B customer Charge
Reversal Refund Partial Refund Chargeback
Recurring
Payout
Pay later
Unzer Secured B2C customer
B2B customer | Payment Pages UI Components Direct API PHP SDK Java SDK Plugins | /types/Wero | wro |

Will be introduced after launch, with additional variants (e.g., subscriptions) to follow.
Advantages
- European-wide interoperability: Seamless payments across multiple European countries with a single app, eliminating the need for different payment solutions in each market.
- Simplified user experience: Use phone numbers instead of complex IBANs for peer-to-peer transfers, making payments as easy as sending a text message.
- Unified payment ecosystem: Replaces fragmented national payment systems, offering merchants a single integration point for multiple European markets.
Assets
Payment workflow
The following diagram explains workflow for Wero payments.
Step 1: Create a wero payment type resource.
A resource ID is generated in the response and is used in the workflow to complete the payment.
Step 2: Make a charge transaction with the wero resource that you created.
Step 3: Forward the customer to the redirectUrl that is displayed in the charge response.
Step 4: Once the customer makes the payment at Wero, redirect the customer to the returnURL specified in the initial charge call.
Step 5: After the transaction, display the result to the customer in the front end of the online shop.
Integration options
Use pre-built, configurable all-in-one pages with your own mix of payment methods
Start integratingUse pre-built forms and quickly integrate with minimum work on the client side
Start integrating